Setup Simulation for a drone
Here we will set up a simulation to simulate a drone that we can in turn send mavlink commands to control, based on the ardupilot documentation: https://ardupilot.org/dev/docs/simulation-2.html
We will install a Software in the loop(SITL) programm that runs the ArdiPilot firmware and sends the servo and motor outputs to the simulation, and the simulator Gazebo that receives the inputs from the SITL, uses them to move a simulated drone on a screen, and sends back the vehicle position, velocities and other data back to the firmware simulation, basically simulating real world sensors.
Before you start: two decisions that will bite you later
Read this first
Both points below cost us a full day of debugging. Neither produces a useful error message when you get it wrong.
1. Pin the firmware version to the one your drone actually flies
git clone gives you the master branch, which is a moving development version
(4.8.0-dev at the time of writing). Our flight controller runs ArduCopter 4.6.3.
Testing against master means testing a different autopilot than the one you fly, and it
has two concrete consequences:
- Parameter names differ between versions. On 4.5/4.6 the rangefinder limits are
RNGFND1_MIN_CM/RNGFND1_MAX_CM(centimetres); from 4.7 on they areRNGFND1_MIN/RNGFND1_MAX(metres). Same forRTL_ALT(cm) vsRTL_ALT_M(m) andSYSID_MYGCSvsMAV_GCS_SYSID. A.parmfile written for one version silently skips the unknown lines on the other — the parameters simply keep their defaults and you get a subtly broken vehicle rather than an error. - Parameter dumps taken from SITL cannot be loaded onto the real flight controller.
So always check out the tag that matches your flight controller (see the firmware banner
in Mission Planner / QGroundControl, e.g. ArduCopter V4.6.3):
2. setuptools must be older than version 81
The build generates DroneCAN sources with dronecan_dsdlc.py, which imports the
dronecan package, which in turn imports pkg_resources. pkg_resources was removed
in setuptools 82. With a newer setuptools the import fails, the generator prints the
misleading message "please install dronecan with pip install dronecan" (the package
is installed — that is not the problem) and then hangs forever inside its
multiprocessing.Pool instead of exiting.
The result is a build that produces no output, no error and no object files, and runs until you kill it. In our case it looked like a build that took "several hours". So:
Verify with python3 -c "import pkg_resources" — it should print a deprecation warning
but succeed. See the troubleshooting section at the end of this page.
Install WSL
Gazebo only runs under Linux and Mac distributions which is why we first install Windows subsystem for Linux(WSL), that allows us to run a Linux environment on our Windows machine. Guides for the installation and basic commands can be found under https://learn.microsoft.com/en-us/windows/wsl/basic-commands.
First we install Ubuntu-24.04 as our linux distribution using the command:
In case we want another distribution, we can see all available distributions under and install any available distribution by adding the-d option to our install command. Already installed subsystems can be checked using the command
that also shows the WSL version version:

For our use case we need WSL version 2, as we need graphics. In case the version is 1, we can change the WSL version using
Just using thewsl command will run the default Linux distribution, to set the default distribution we use the command
In case we want to run a distribution other than our default version, we can run
After we set up WSL for our windows computer, we can install the SITL and the Gazebo simulation.
Install Software in the loop (SITL)
To install and run the SITL we first clone the ardupilot git repository and check out the firmware version our flight controller runs (see the warning at the top of this page):
git clone --recursive https://github.com/ArduPilot/ardupilot.git
cd ardupilot
git checkout Copter-4.6.3
git submodule update --init --recursive
setuptools below version 81 so the DroneCAN code generator can import
pkg_resources (otherwise the build hangs silently — see the warning at the top):
On macOS or Linux, without WSL
The WSL section above is only needed on Windows. On macOS and Linux, SITL runs natively —
skip WSL entirely and use the same sim_vehicle.py commands. Instead of the Ubuntu
installer script, create a Python environment and install the build dependencies:
conda create -n ardupilot python=3.11 -y
conda activate ardupilot
pip install "setuptools<81" empy pexpect future dronecan pymavlink MAVProxy
Two macOS notes:
- The MAVProxy
--mapmodule is often missing. Leave--mapoff and use a ground station (QGroundControl) for the map view. - Long builds die when the machine goes to sleep. Prefix the build with
caffeinate -iif you leave it unattended.
A clean build of bin/arducopter takes about a minute on a current machine. If it takes
substantially longer without printing progress, it is not slow — it is stuck; go to the
troubleshooting section.
Now we can run our software using
The option-v sets the vehicle type, as we want to simulate a quadcopter, we set it to ArduCopter, but there can be many different vehicle types. like ArduPlane or Rover, and it is a needed option to run the SITL. The main command opens up the command line client that allows us to run commands through our SITL.
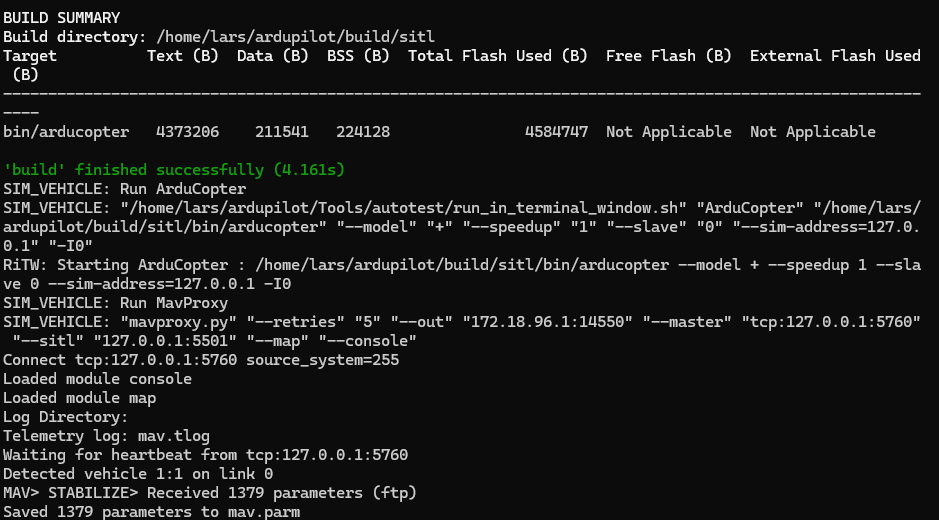
It will also open the SITL elf execution window, that outputs raw flight controller logs and debug data directly from the simulated hardware.
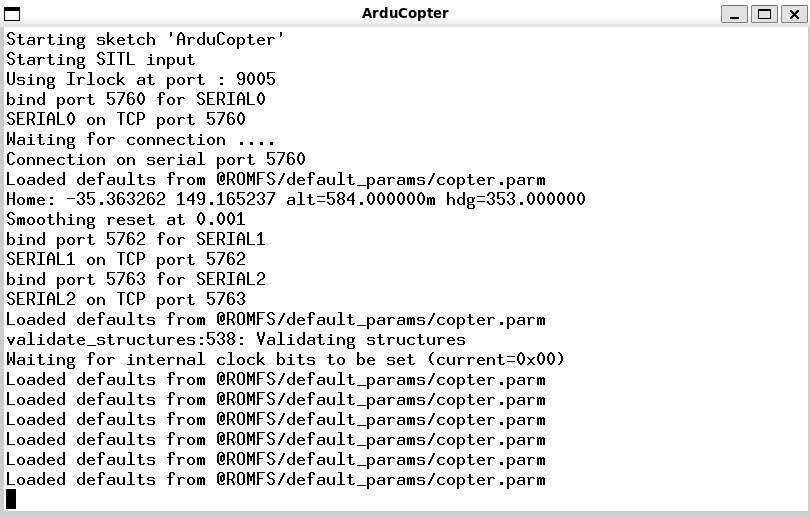 Do not close theís window, as this is the simulated flight controller and without it everything else will crash.
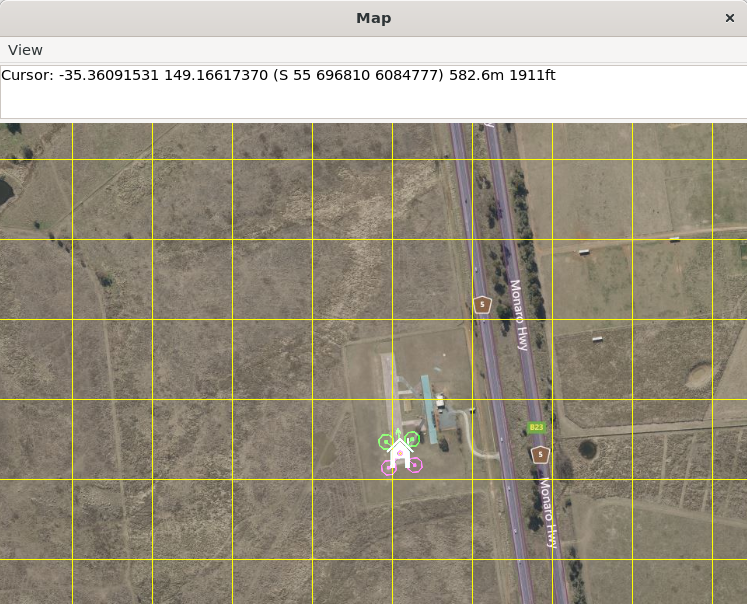
The --map option opens a 2D map that shows our drone
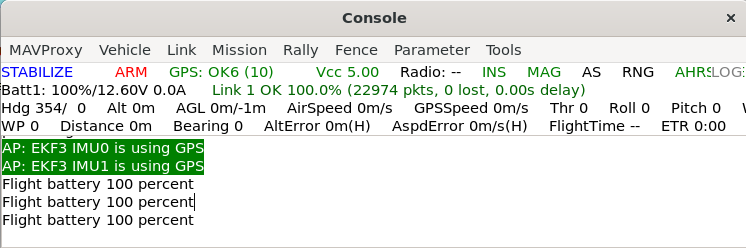
and the --console command opens a status terminal for messages
We can also connect our Mission planner with the simulated flight controller. Normally the mission planner connects automatically if the SITL is already running, else we will have to look after the UDP connection:

Now that we have started our application, we can look at some commands to see if everything works as intended. First we will change into guided mode using the command
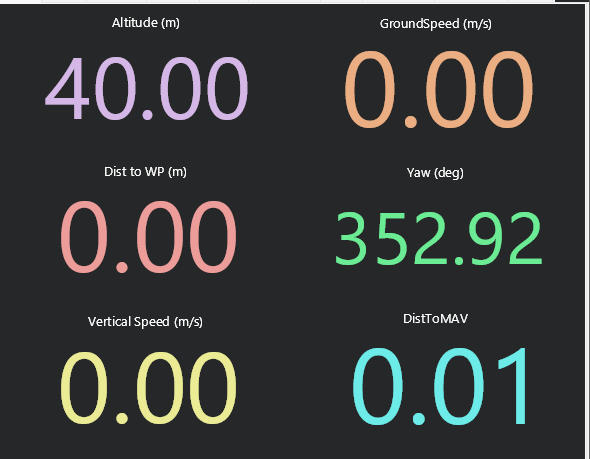
then we can arm the throne using, take note that the drone will automatically disarm after 15 seconds, and lastly we can the takeoff command that will increase the drones altitude by 40 meters, which we can confirm using the console, where we will see the Alt parameter being 40.
If we have the mission planner connected, we can also see the same in the mission planner data.
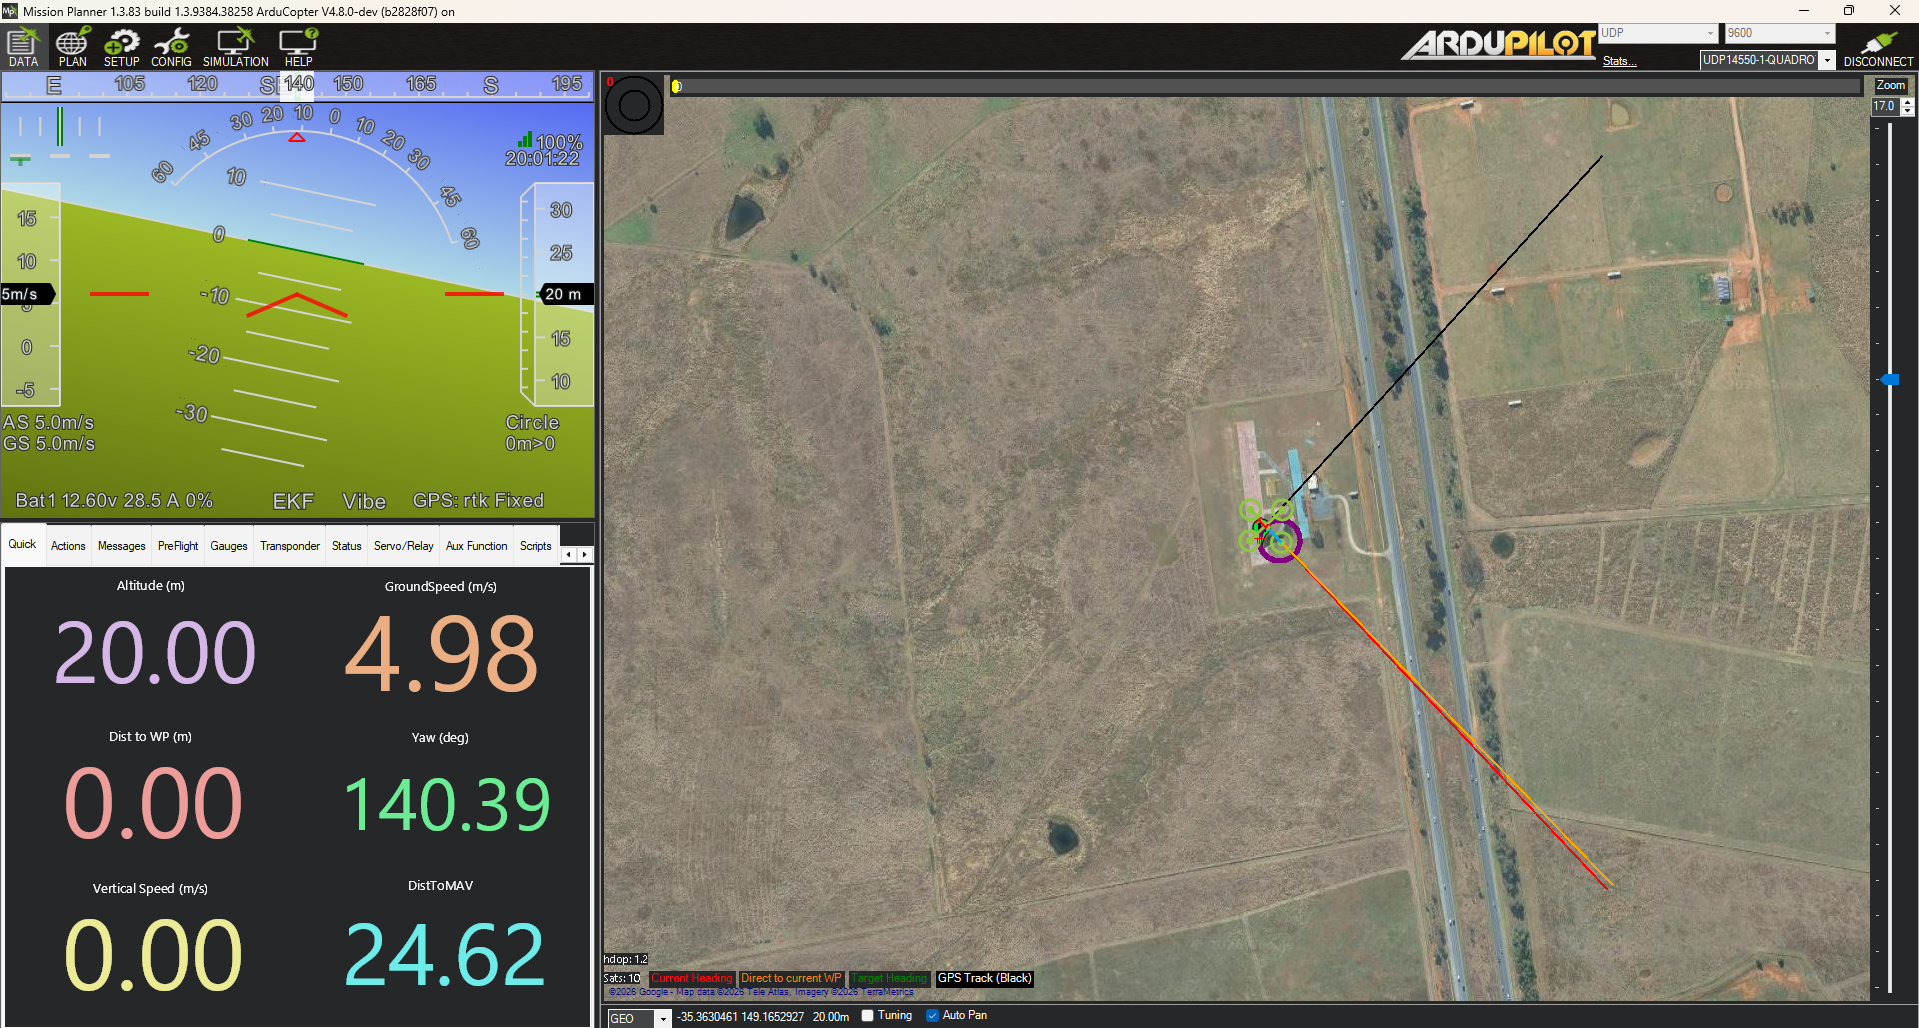
Further commands to try are setting the throttle to 1500 PWM
set the circle mode that makes the drone spin in a radius and change the parameter for the radius to 20 m:We can look at the mission planner how our drone behaves, we see the drone is tilted and on the map we can see how it circles.
If everything works as intended, we have succesfully set up the system in the loop and can now install the Gazebo simulation that lets us simulate a drone in three dimensions. Sources for the installation and use of SITL: - https://ardupilot.org/dev/docs/sitl-on-windows-wsl.html - https://ardupilot.org/dev/docs/using-sitl-for-ardupilot-testing.html#using-sitl-for-ardupilot-testing
Install Gazebo
To install Gazebo we use the tutorial by ardupilot under https://ardupilot.org/dev/docs/sitl-with-gazebo.html.
For the installation we first make sure all packages are up to date and install the needed packages
sudo apt-get update
sudo apt-get install lsb-release gnupg
sudo apt-get install rapidjson-dev -y
sudo apt-get install libopencv-dev -y
sudo apt-get install libgstreamer1.0-dev libgstreamer-plugins-base1.0-dev -y
sudo wget https://packages.osrfoundation.org/gazebo.gpg -O /usr/share/keyrings/pkgs-osrf-archive-keyring.gpg
echo "deb [arch=$(dpkg --print-architecture) signed-by=/usr/share/keyrings/pkgs-osrf-archive-keyring.gpg] http://packages.osrfoundation.org/gazebo/ubuntu-stable $(lsb_release -cs) main" | sudo tee /etc/apt/sources.list.d/gazebo-stable.list > /dev/null
.bashrc the environment variables that Gazebo uses to locate plugins and models at runtime. Open .bashrc
and paste in the following lines:
export GZ_SIM_SYSTEM_PLUGIN_PATH=$HOME/ardupilot_gazebo/build:$GZ_SIM_SYSTEM_PLUGIN_PATH
export GZ_SIM_RESOURCE_PATH=$HOME/ardupilot_gazebo/models:$HOME/ardupilot_gazebo/worlds:$GZ_SIM_RESOURCE_PATH
.bashrc
Now we have set everything we needed up and can run gazebo along our SITL. We use one terminal to run
and a second to run
~/ardupilot/ArduCopter/Tools/autotest/sim_vehicle.py -v ArduCopter -f gazebo-iris --model JSON --map --console
-f option tells the arducopter simulation to look for a gazebo physics mode and --model JSON tells it to use the JSON communication protocol.
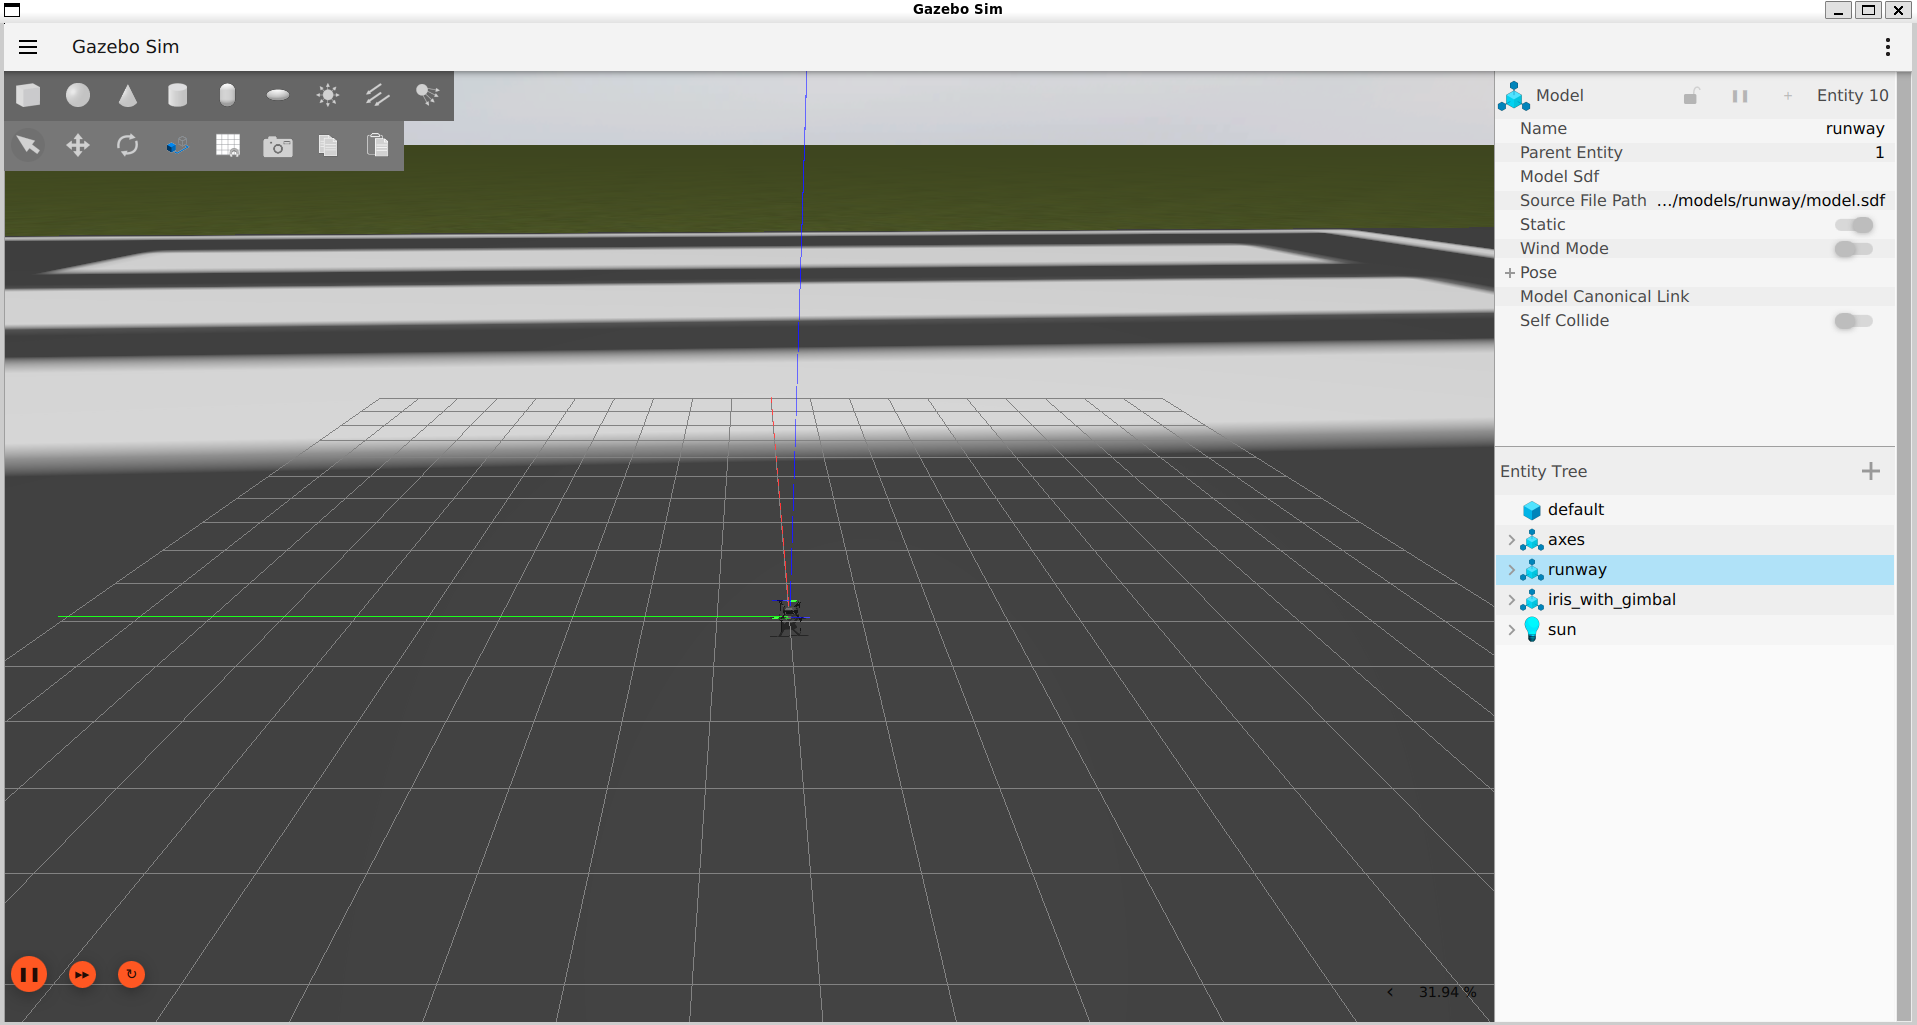
At first we will not be able to arm the drone, as the frame class and type seem to not be set, so we use the following commands in the MAVProxy command line:
Now we can use the same commands used to try the SITL and see if the drone moves as expected. Sometimes the acceleration might be inconsistent, if that is the case we can use the command and once it asks us to place the vehicle level, we once again just typeaccelcal.
It is also possible to add simulated peripherals, see https://ardupilot.org/dev/docs/adding_simulated_devices.html.
Simulating indoor flight (GPS-denied, optical flow + LiDAR)
For the delivery scenario the drone flies indoors without GPS, using the MicoAir MTF-01P
(optical flow + rangefinder). SITL can stand in for that sensor. The one parameter file
for this is the generated flight-set mirror Pi-Code/params/sitl_flight_v2.parm —
simulated flow + rangefinder backends, GPS off, and the flight set's behavioural
parameters, all in one file. Load it twice, with a reboot after each pass, in the
MAVProxy console:
param load .../Pi-Code/params/sitl_flight_v2.parm
reboot
param load .../Pi-Code/params/sitl_flight_v2.parm
reboot
The double load is necessary because the RNGFND1_* sub-parameters only come into
existence after RNGFND1_TYPE is set and the autopilot has rebooted. On the first
pass they are unknown and silently discarded, the second pass fills them in. The full
procedure, expected verification values and the test ladder are on
Testing the Companion Code in SITL.
Start SITL at the location of the real flight
The simulated compass lives at the SITL home position
SITL models the earth's magnetic field at the position it was started at
(CMAC, Canberra by default). Our companion code sets the EKF origin to the real hall
in Frankfurt via SET_GPS_GLOBAL_ORIGIN. If the two do not match, the magnetic field
the autopilot measures does not match the one it expects for that origin and pre-arm
fails with:
976 mGauss is exactly the difference between the northern and southern hemisphere. So always start SITL at the same coordinates the companion uses as its origin:
Beware that this also changes the flight behaviour: SITL models air density over altitude, so the same vehicle climbs differently at 112 m (Frankfurt) than at 584 m (Canberra). Do not compare flights flown at different simulated locations.
--custom-location also breaks the rangefinder unless you set SIM_TERRAIN 0
This one cost us two days, so it is worth stating plainly.
With terrain enabled (the default), SITL measures the rangefinder against a terrain
model anchored at SIM_OPOS_ALT. That parameter defaults to 584 m — the altitude
of the default SITL home at CMAC, Canberra — and --custom-location does not
change it. Start the simulator in Frankfurt (112 m) and the vehicle sits roughly
470 m below the modelled ground, so the rangefinder reports a constant 0.00 m.
Nothing warns you. The consequences are severe and look like completely unrelated bugs:
- Optical flow only measures an angular rate. Without a height above ground the EKF cannot convert it into a velocity, so the position estimate drifts — we measured 366 m of drift while the vehicle physically stood still.
- Waypoints are therefore never reached and the mission times out.
- Altitude control oscillates and the vehicle repeatedly hits the ground
(
SIM Hit groundin the console).
The fix is one parameter, and a flat ground plane is the correct model for an indoor hall anyway:
It is included in Pi-Code/params/sitl_flight_v2.parm, so loading the mirror
covers it. How to check: in QGroundControl's MAVLink Inspector, DISTANCE_SENSOR
must follow the actual altitude. In a dataflash log, the RFND.Dist values must
track CTUN.Alt. A rangefinder that reads 0.00 m at every altitude is this bug.
Parameters worth setting for indoor tests
| Parameter | Value | Why |
|---|---|---|
WPNAV_SPEED_UP |
50 (cm/s) |
The default 250 cm/s overshoots a 2 m takeoff by more than 2 m, which breaches a low altitude fence. |
FENCE_ACTION |
2 (Always Land) |
The default 1 means "RTL or Land" — and RTL first climbs to RTL_ALT, straight into the ceiling. |
RTL_ALT |
200 (cm) |
Only in case RTL is triggered anyway. Note: centimetres on 4.5/4.6. |
EK3_SRC_OPTIONS |
0 |
Disables FuseAllVelocities. The firmware default is 1; our flight-controller setup uses 0. |
Troubleshooting
The build runs forever and prints nothing
Symptom: ./waf copter stops after a line like Copying fixed headers for protocol 2.0
or [n/n] Processing dronecangen: ..., produces no object files, no error, and no
progress for hours. ps shows the waf process and its worker processes at 0 % CPU.
Cause: setuptools >= 82 removed pkg_resources, which dronecan_dsdlc.py needs. The
script catches the import error, prints a misleading message and then deadlocks in its
multiprocessing.Pool. waf never forwards the message, so all you see is silence.
Fix:
The general lesson: when a build step hangs, run that step on its own, outside the build system — the build system may be swallowing the real error message. In our case:
python3 modules/DroneCAN/dronecan_dsdlc/dronecan_dsdlc.py -O/tmp/out \
    modules/DroneCAN/DSDL/ardupilot modules/DroneCAN/DSDL/com modules/DroneCAN/DSDL/cuav \
    modules/DroneCAN/DSDL/dronecan modules/DroneCAN/DSDL/mppt modules/DroneCAN/DSDL/tests \
    modules/DroneCAN/DSDL/uavcan
This finished in one second once setuptools was pinned, and printed the real error
(No module named 'pkg_resources') before that.
Pre-arm fails with "Check mag field"
SITL was started at a different location than the EKF origin your script sets. Use
--custom-location as described above.
Arming is rejected with result=4 and no explanation
MAV_RESULT_FAILED. The reason is sent as a STATUSTEXT message, which pymavlink
scripts usually discard. Type arm throttle in the MAVProxy console to see the actual
pre-arm message, or log STATUSTEXT in your own code.
param load reports fewer parameters than the file contains
The file was written for a different firmware version. Unknown parameter names are skipped silently — see the version warning at the top of this page.
The drone drifts away in GPS-denied mode
Check the rangefinder first. Optical flow only measures an angular rate; the EKF
needs the height above ground to convert it into a velocity. If the rangefinder reports
0 m, the scaling collapses and the position estimate diverges — in one of our runs to
366 m while the vehicle physically stood still. In the dataflash log, look at the RFND
records: Dist must follow CTUN.Alt, and Stat must be 4 (Good).
If RFND.Dist is 0.00 m at every altitude, it is almost certainly the
SIM_TERRAIN / --custom-location interaction described above — not the rangefinder
driver. We initially suspected the driver and switched RNGFND1_TYPE from 1 (Analog)
to 100 (SITL); both read zero, which is what pointed at the terrain model instead.
The takeoff never "settles"
Our companion code only reports a successful takeoff once the altitude has been held within a band for a few seconds, not on the first sample that crosses the target. If it reports the altitude repeatedly leaving the band, the altitude controller is genuinely oscillating — which in a GPS-denied setup again points at the rangefinder, not at the takeoff itself.